How to create ChatGPT with Django and HTMX in 4 minutes 🦾
We'll re-create ChatGPT in 4 steps - and under 4 minutes.
After this tutorial, you'll know how to enrich all your Django apps with the best AI text generation tool available as of writing 🤖
How our final product will look:
The video below follows the written guide. We'll use Django, HTMX, and GPT3.5 or 4. Let's go. 💫
For a full online demo, see the Circumeo link at the end 🎪
1. Setup django and packages:
We'll assume that we've already installed Django and a virtual environment.
django-admin startproject core
python manage.py startapp chatbot_app
pip install requests
Add chatbot_app to the end of your INSTALLED_APPS in
chatbot_project/settings.py:
INSTALLED_APPS = [
  	...
    'chatbot_app',
  ]
Create a model to store your chat messages in the database:
in chatbot_app/models.py:
from django.db import models


class Message(models.Model):
		user_message = models.TextField()
		bot_message = models.TextField()
		timestamp = models.DateTimeField(auto_now_add=True)
Run your migrations to update your database in the terminal:
python manage.py makemigrations
python manage.py migrate
Create a view to handle the chat
In chatbot_app/views.py:
from django.shortcuts import render
from .models import Message

def chat_view(request):
    if request.method == "POST":
        user_message = request.POST.get('message')
        bot_message = "Hello!"  # We will replace this line.
        Message.objects.create(user_message=user_message, bot_message=bot_message)
    messages = Message.objects.all()
    return render(request, 'chat.html', {'messages': messages})
2. Add HTMX to the frontend
- In
chatbot_app/templates/chat.html:
<!doctype html>
<html lang="en">
  <head>
    <meta charset="UTF-8" />
    <title>AI Chatbot</title>
    <script
      src="https://unpkg.com/htmx.org@1.9.4"
      integrity="sha384-zUfuhFKKZCbHTY6aRR46gxiqszMk5tcHjsVFxnUo8VMus4kHGVdIYVbOYYNlKmHV"
      crossorigin="anonymous"
    ></script>
    <style>
      .input-fields {
        display: flex;
        flex-direction: row;
      }

      /* Style for the loading spinner */
      .my-indicator {
        display: none;
        border: 2px solid #f3f3f3;
        border-top: 2px solid #3498db;
        border-radius: 50%;
        width: 20px;
        height: 20px;
        animation: spin 0.5s linear infinite;
      }
      .htmx-request .my-indicator {
        display: inline-block;
      }
      @keyframes spin {
        0% {
          transform: rotate(0deg);
        }
        100% {
          transform: rotate(360deg);
        }
      }
      .user-message {
        color: #b83eff;
        padding: 5px;
      }
      .bot-message {
        padding: 5px;
        color: darkblue;
      }
      input[type='text'] {
        width: 50%;
      }
    </style>
  </head>
  <body>
    <div id="container">
      <div id="chatbox">
        {% for message in messages %}
        <div>User: {{ message.user_message }}</div>
        <div>Bot: {{ message.bot_message }}</div>
        {% endfor %}
      </div>

      <form
        hx-post="{% url 'chat_view' %}"
        hx-target="#container"
        hx-swap="innerHTML"
      >
        {% csrf_token %}
        <div class="my-indicator"></div>
        <div class="input-fields">
          <input type="text" name="message" />
          <button type="submit">Send</button>
        </div>
      </form>
    </div>
  </body>
</html>
3. Connect remaining Django elements
In chatbot_app/urls.py:
from django.urls import path
from .views import chat_view

urlpatterns = [
    path('', chat_view, name='chat_view'),
]
In core/urls.py:
from django.contrib import admin
from django.urls import path, include

urlpatterns = [
    path('admin/', admin.site.urls),
    path('chat/', include('chatbot_app.urls')),
]
Run the server to check.
- Visit
http://127.0.0.1:8000/chat/to check your work.
python manage.py runserver4. Add AI
- Modify
chatbot_app/views.py - Replace
YOUR_OPENAI_API_KEYwith your api key. - Prepend your key with "Bearer". (If your api key is '1234', your
Authorizationvalue will be "Bearer 1234")
from django.shortcuts import render
from .models import Message
import requests
def chat_view(request):
if request.method == "POST":
user_message = request.POST.get('message')
bot_message = get_ai_response(user_message)
Message.objects.create(user_message=user_message, bot_message=bot_message)
messages = Message.objects.all()
return render(request, 'chat.html', {'messages': messages})
def get_ai_response(user_input: str) -> str:
# Set up the API endpoint and headers
endpoint = "https://api.openai.com/v1/chat/completions"
headers = {
"Authorization": "Bearer <YOUR_OPENAI_API_KEY>",
"Content-Type": "application/json",
}
# Data payload
messages = get_existing_messages()
messages.append({"role": "user", "content": f"{user_input}"})
data = {
"model": "gpt-3.5-turbo",
"messages": messages,
"temperature": 0.7
}
response = requests.post(endpoint, headers=headers, json=data)
response_data = response.json()
print(f'{response_data = }')
ai_message = response_data['choices'][0]['message']['content']
return ai_message
def get_existing_messages() -> list:
"""
Get all messages from the database and format them for the API.
"""
formatted_messages = []
for message in Message.objects.values('user_message', 'bot_message'):
formatted_messages.append({"role": "user", "content": message['user_message']})
formatted_messages.append({"role": "assistant", "content": message['bot_message']})
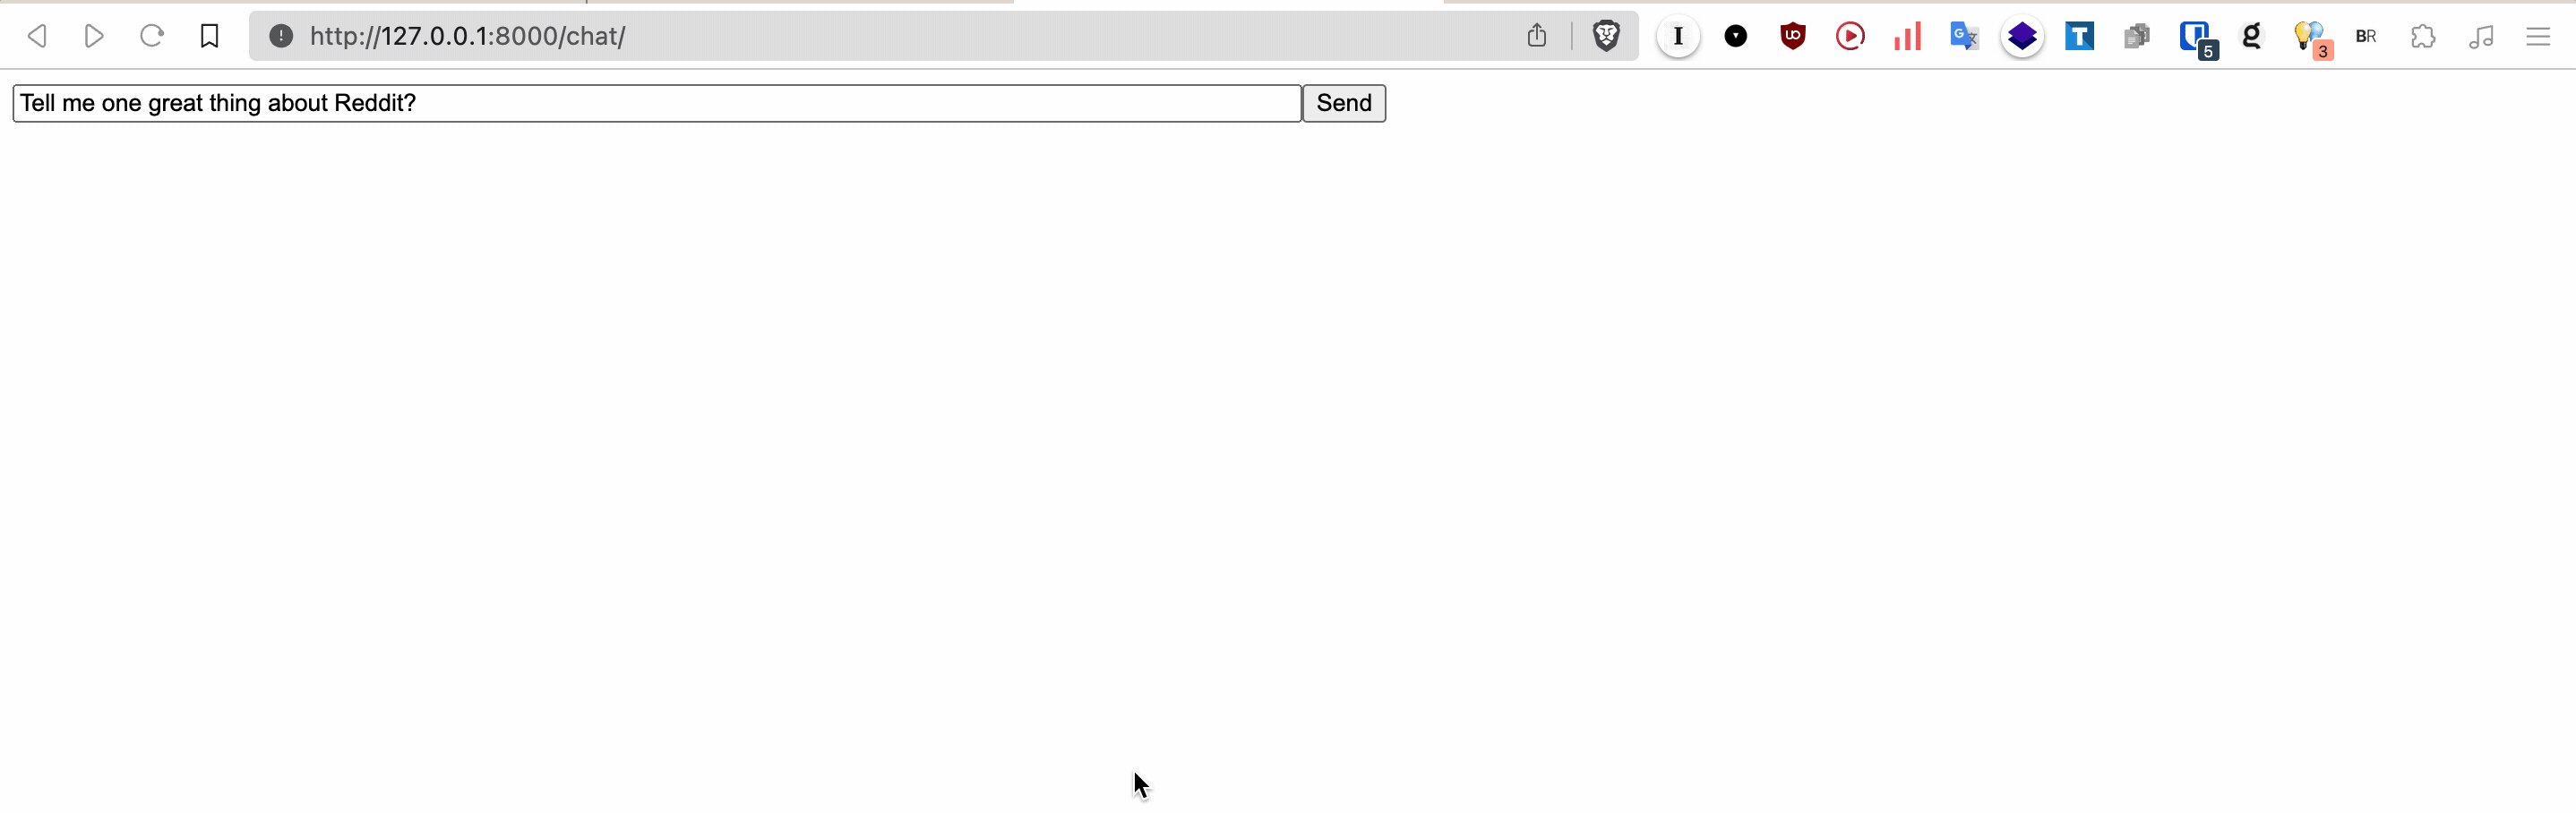
return formatted_messagesYou should now see something like this
Finished (Now you can use LLMs)
We're done 🎉 Your app now offers the minimal functionality that ChatGPT provides, albeit without the custom prompt that the ChatGPT users.
However, you could add a prompt that is even more useful for you instead. Here is OpenAI's best practices guide to using GPT.
Full online demo 🎪:
Here's a full demo of the app using Circumeo. To do this:
- Visit the project fork page and click the "Create Fork" button.
- Migrations will run and the app will launch in about 10 seconds.
- Add an environment variable with the key of OPENAI_API_KEY and the value of your api key in the 'Variables' tab.
- Click deploy